Create your first dashboard in few steps
NativeBI is implemented with a very straightforward user experience.
You don't need any tutorials or documentations to get started, the interface will guide you in your first steps and you'll get acquainted to it easily in a short period of time.
How it works?
1. Connect to datasource
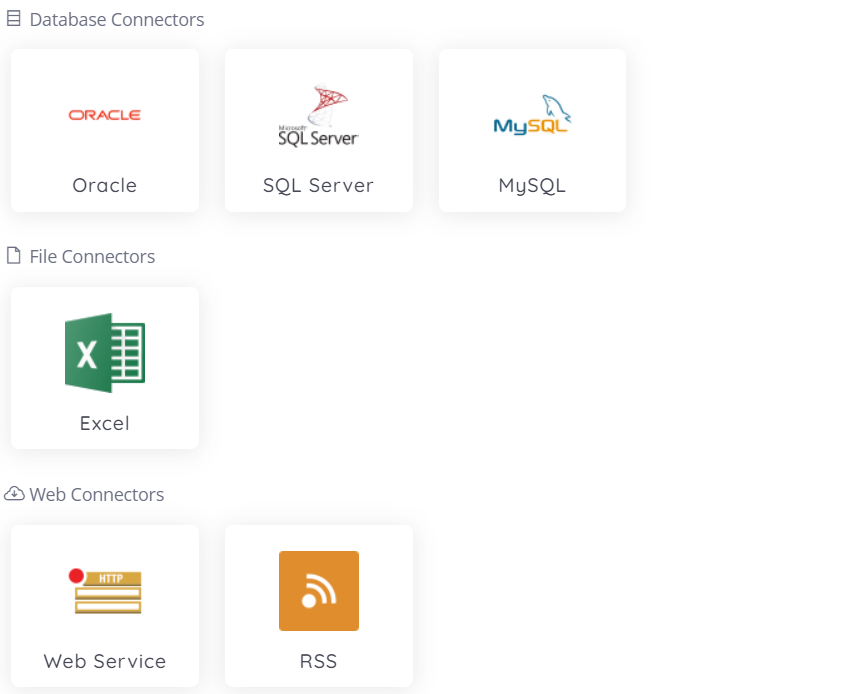
First of all, connect NativeBI to your datasource, then define how NativeBI would read and refresh data from the original data source.


2. Create Dashboard
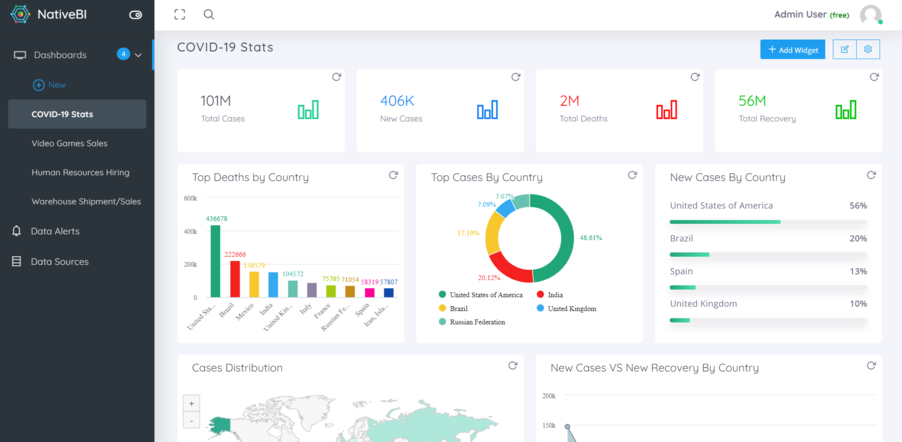
Create your first dashboard, give it a name and start adding components to it using our built-in interactive widgets.
A dashboard can connect to multiple data sources at a time.
3. Share Dashboard with Others
Share the dashboard either with NativeBI users or publicly with other external users and start exploring your data and generating insights from it.


4. Get Alerts
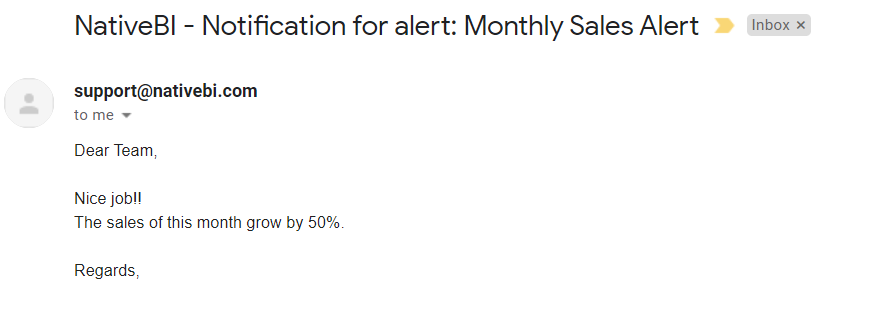
Define your business rules on any of your dashboards and let the system notifies you whenever any of these rules become valid.
How it works?
1. Connect to datasource
First of all, connect NativeBI to your datasource, then define how NativeBI would read and refresh data from the original data source.

2. Create Dashboard
Create your first dashboard, give it a name and start adding components to it using our built-in interactive widgets.
A dashboard can connect to multiple data sources at a time.

3. Share Dashboard with Others
Share the dashboard either with NativeBI users or publicly with other external users and start exploring your data and generating insights from it.

4. Get Alerts
Define your business rules on any of your dashboards and let the system notifies you whenever any of these rules become valid.

